|
We make hot cross buns every year, but this year I thought I'd take a look at the tradition, where it comes from and look at a more traditional recipe to our normal fare. So, I dug out my trusty Elizabeth David English Bread and Yeast Cookery. Published in the '70s, it's a weighty tome, but a great start when you really want to get to grips with something. I was rewarded with a wonderful verse of the well known rhyme that was previously unknown to me: One for the poker, Two for the tongs; Three for the dust pan, Hot Cross Buns! Thanks to modern technology, I lost none to the poker, tongs or dust pan. Following her guidance ,my resulting dough was stiffer than I would usually make, but no less soft and tender. I made some traditional deep crosses in the dough after proving and then piped the sweetened flour paste into the grooves. I was delighted with the results and think I'll stick with this method in future years. As for the tradition itself, it seems it predates even medieval times. Evidence of fruit -studded loaves made to celebrate Eastre and the rites of Spring go back to pagan times. Then, as is so often the case, Christianity took over the pagan traditions. The crosses were a later addition, and were commonly cut into all manner of buns, loaves and cakes by superstitious bakers (for superstitious customers!) as a way of warding off evil spirits (that were naturally responsible for turning them mouldy). Then, during the reign of Elizabeth I, when the puritans were trying to rid England of all evidence of 'popery' as they saw it, the use of the cross was strictly limited and the practice was abandoned. However, one exception was made. At Easter, the use of the cross as a symbol was seen as appropriate and so the tradition of a little fruited loaf with a cross on continued. Traditionally, the cross was a haphazard, deep-cut marking but as time moves on we see embellishments appearing in the form of pastry or citrus peel crosses overlaying the scored cross. These days, you can see the piped cross on most modern buns. And, of course, everyone outdoes each other to come up with a new and exciting flavour not thought of before. For me, these traditional buns are an absolute delight. In fact, next year I might just try those candied peel crosses. If it ain't broke...  Hot Cross Buns
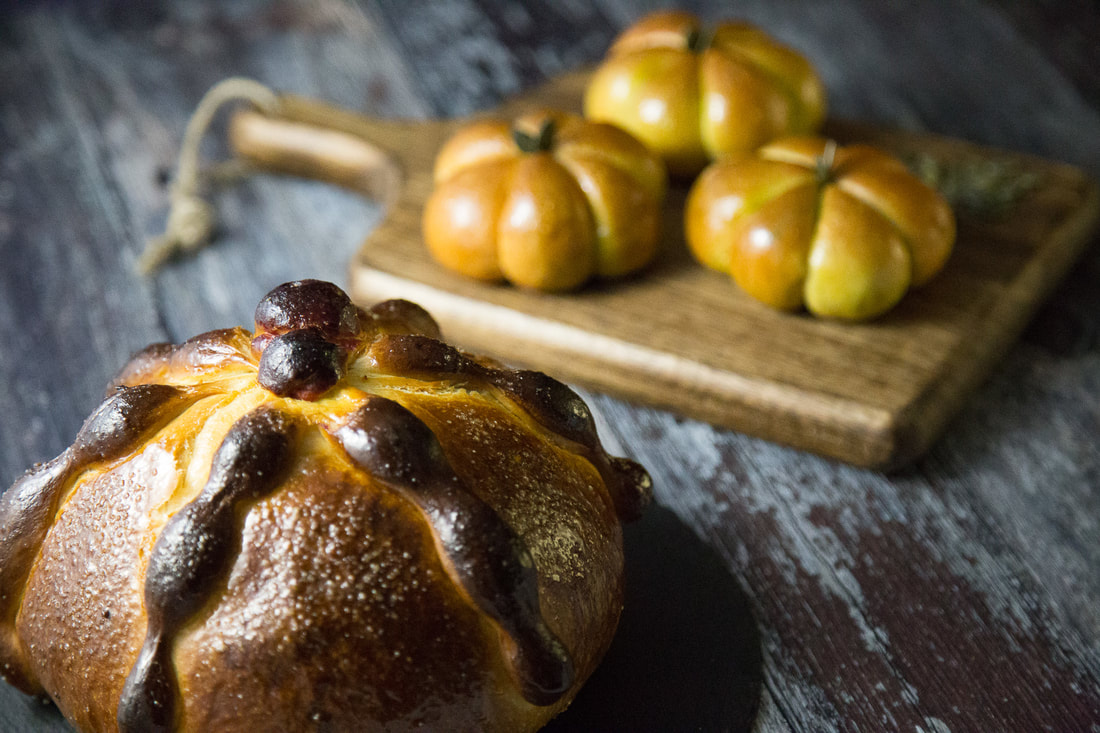
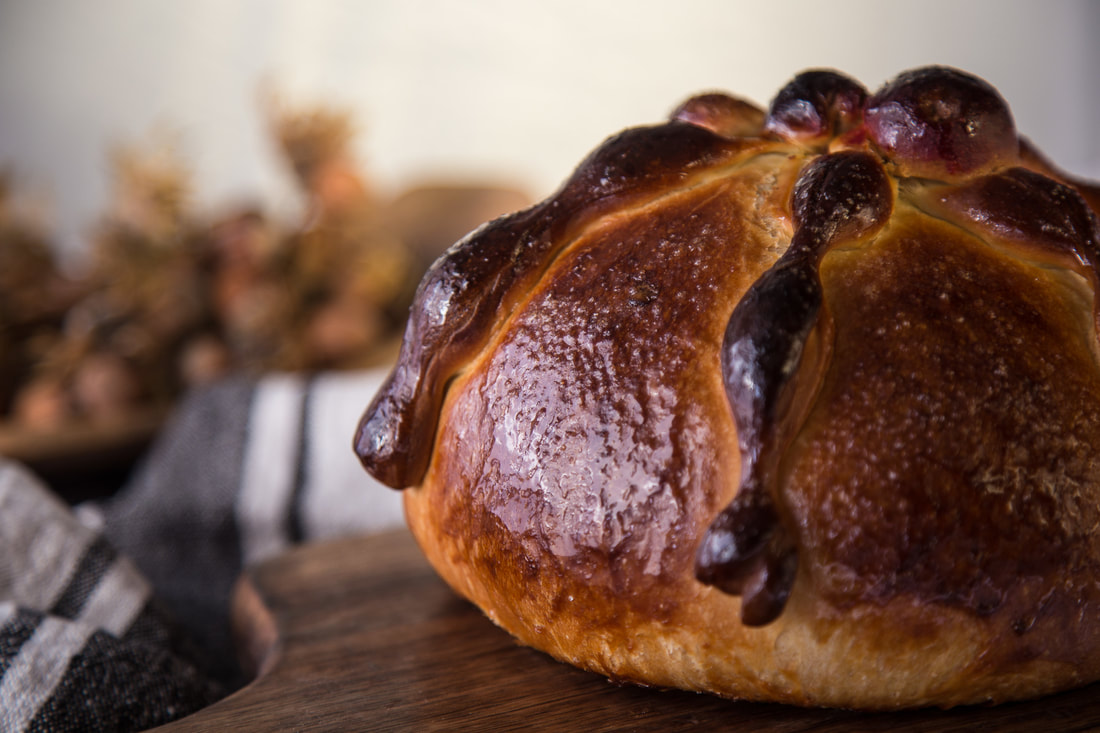
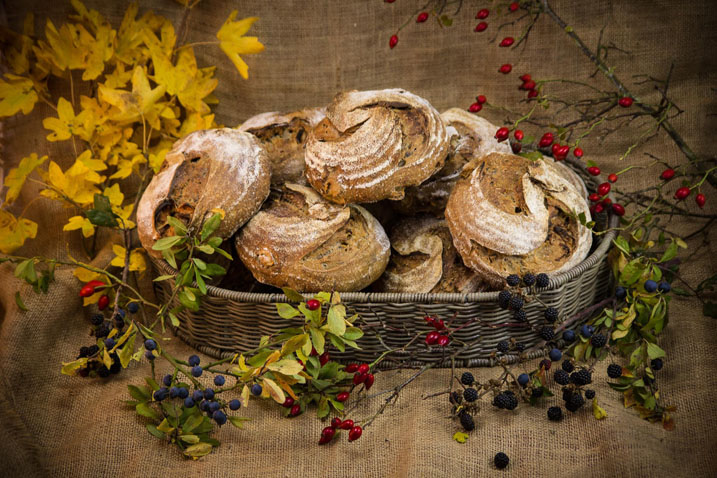
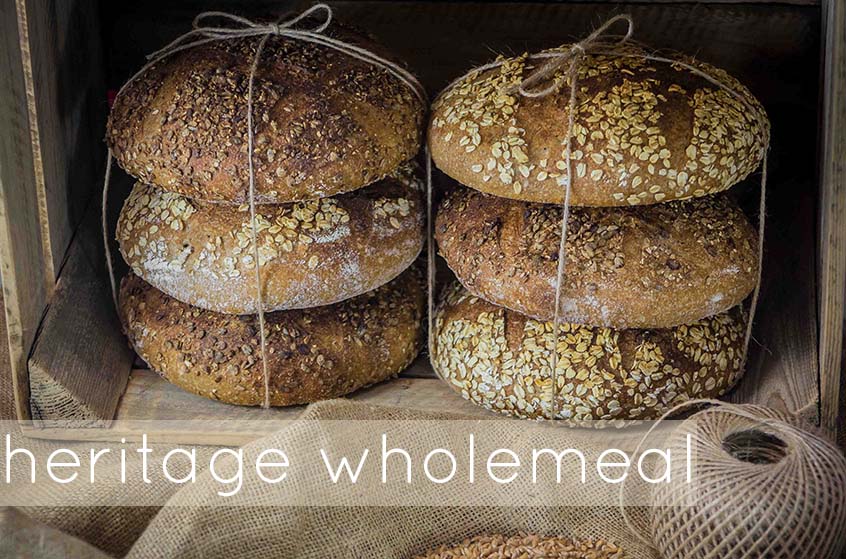
(makes 12 generous buns) Ingredients 650g Strong white bread flour 60g Wholemeal flour (wheat, spelt or rye) 65g Light brown sugar (or golden caster sugar) 200g dried fruit (sultanas, raisins, currants & mixed peel) 360g whole milk, at room temperature 90g cold butter (unsalted), cubed 1 egg 30g fresh yeast (or 15g dried yeast) 15g salt 1 tsp mixed spice Paste for crosses: 60g flour 20g caster sugar 50g water Glaze 2 tbsp milk 2 tbsp caster sugar Method Place the egg and milk in your mixing bowl, then add your flour, sugar, spice and salt. Now crumble the fresh yeast into your flour, avoiding direct contact with the salt. Using your dough attachment, mix your dough on low speed for 1-2 minutes until smooth and well combined. Turn the speed up to medium fast and mix for a further 2-3 minutes until your dough is strong and elastic. Now you have developed the gluten, you can throw in the cubes of butter a few at a time, continuing to beat the dough. When the butter is all combined and your dough is smooth once more, you can add the dried fruit and mix in. Now cover and rest your dough for about 1 1/2 hours until doubled in size. You can then turn out your dough on a lightly floured surface. De-gas and divide into 12 equal portions (about 120g dough each). Shape each piece of dough into a ball and place on a baking tray lined with baking paper. Cover and leave to prove for a further 2 hours (if your kitchen is warm, you may need less time; if cold, you may need more). Meanwhile, prepare your paste for the crosses. Mix the flour, sugar and water together and place in a piping bag, with either a small nozzle or prepare to cut a small hole at the end of the bag. Preheat your oven to 220C When your buns are proved, pipe a narrow cross on each bun. If you have placed your buns in a 3x4 grid, you may find it easier to do this by running down the entire row of buns, rather than each individual one. Place them in the oven and immediately turn your oven down to 190C. Bake for 15-20 minutes, keeping an eye that they don’t brown too quickly - if so, turn your oven down by about 10 degrees. Whilst your buns are baking, prepare your final glaze. Mix together 2 tbsp milk with 2 tbsp caster sugar in a saucepan. Heat gently until the sugar is dissolved. Allow to cool a little before using. When the buns are baked and golden, place on a cooling rack and brush with your milky glaze. Allow to cool, but maybe just one won’t be missed whilst they’re still warm. After all, you were the one to bake them. It’s the least you deserve. Enjoy! Happy Easter! ,With the Dia de los Muertos looming, we thought we’d experiment with the traditional Mexican treat Pan de Muerto. Made with an orange-infused sweet dough, enriched with butter and eggs, the bread is shaped into a boule, then the ‘bones’ are overlaid, with a ‘skull’ placed atop the loaf. I do love this time of year, when the nights draw in, the air is filled with the smell of wood-smoke and the world around us turns red and gold. These days the shops are filled with the most amazing autumnal squashes, gourds and pumpkins, of all colours, shapes and sizes. Inspired, we decided to use the leftover sweet dough from the Pan de Muerto to make some pumpkin buns. The orange dough was crying out for some chocolate, so each bun has a delicious chocolatey filling. Even if they hadn’t been delicious, I think we’ll have to make these again just for the aesthetic! Cute as a button! I’ll leave you with a reminder of the ancient Gaelic celebration which pre-dated the modern observance of Halloween: ‘Samhain’ (from dusk on the 31st October to Dawn on the 1st November) – the festival marking summer’s end and the start of the dark half of the year. Perhaps next year I should create a new loaf to celebrate Samhain. Perhaps half dark, half light - yin and yang. Now, there’s a thought… 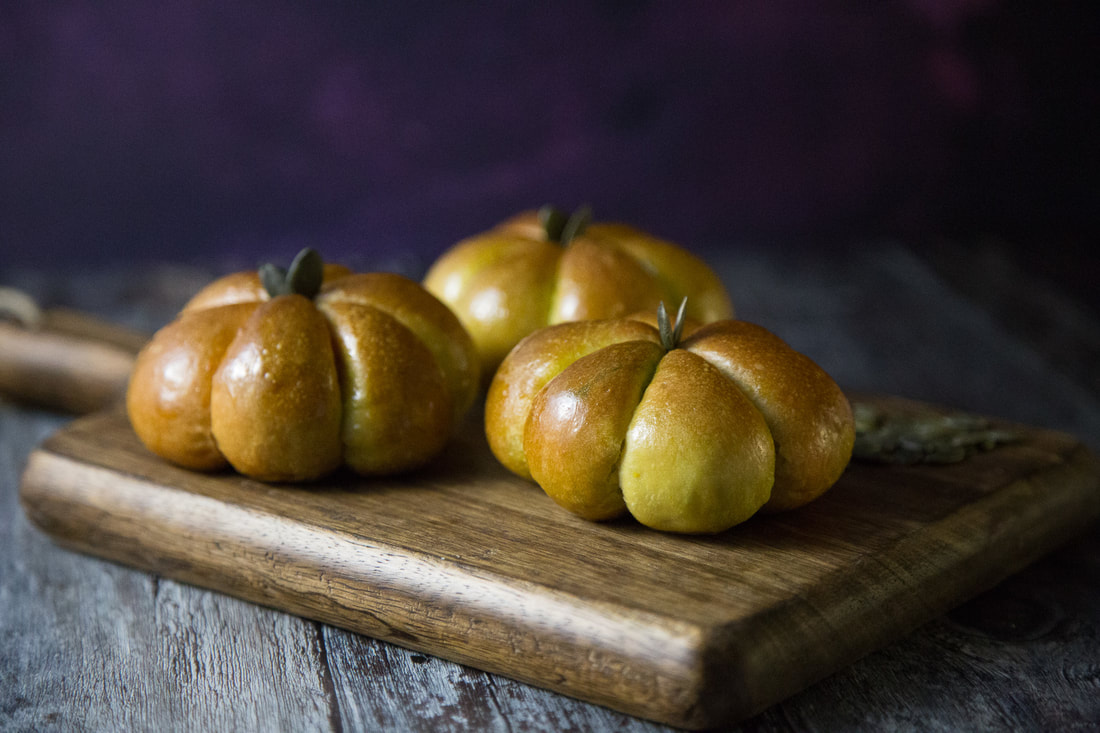
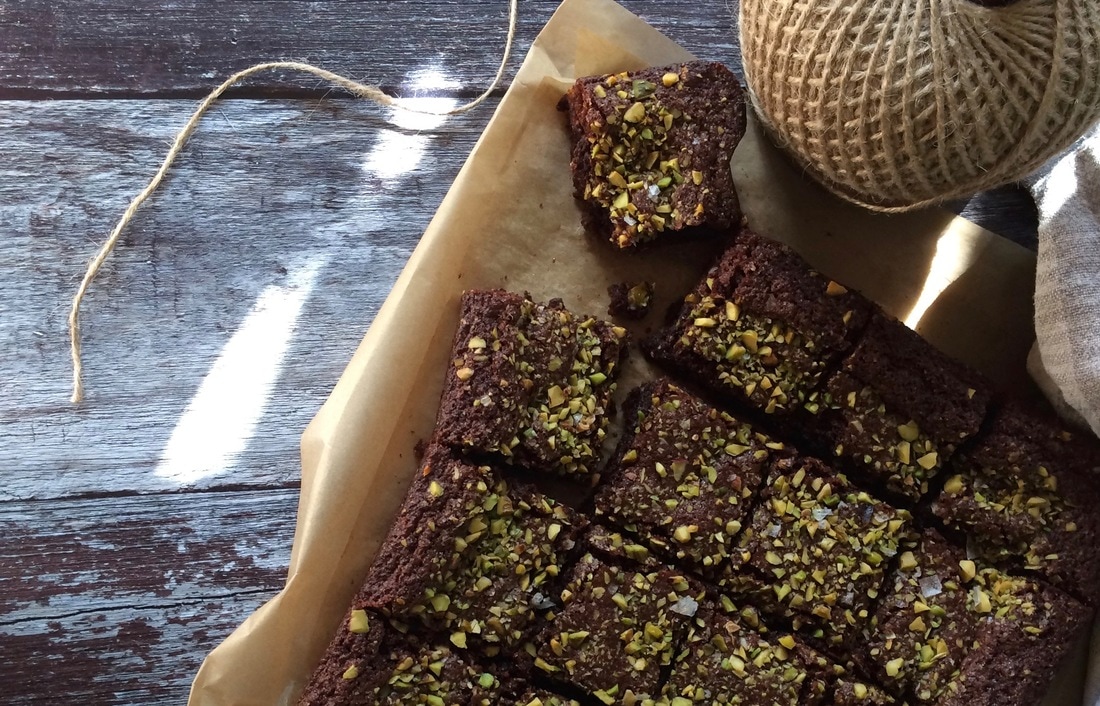

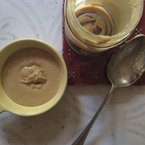
Bake at 180°C for about 30 minutes. If you have a digital thermometer, look for a brownie core temperature of 90-92°C. This will ensure your bake is crunchy on the outside and beautifully squidgy on the inside. If you don’t have a thermometer, check the edges of your brownies are shrinking away from the sides of the tin. Allow to cool in the tin. When cold, cut and transfer to an airtight container where they will keep for as long as you’re able to resist them. Everybody is looking for something different in their perfect brownie. For me, these are Brownie Nirvana. My work here is done. 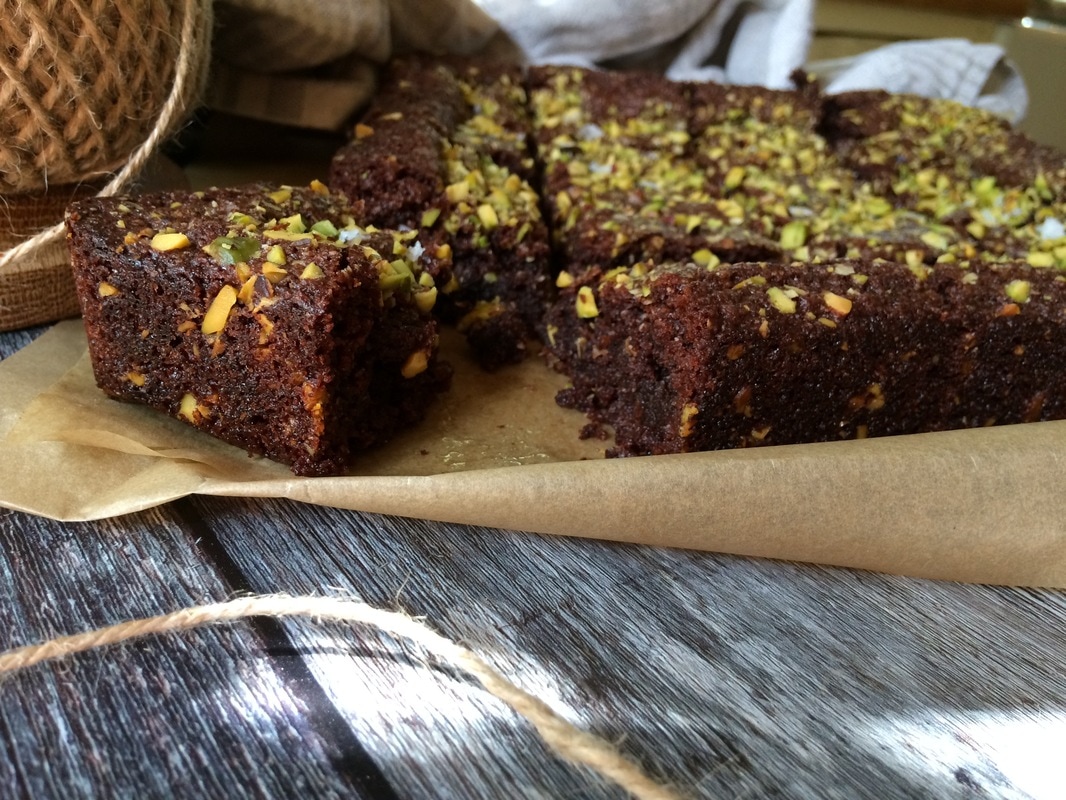
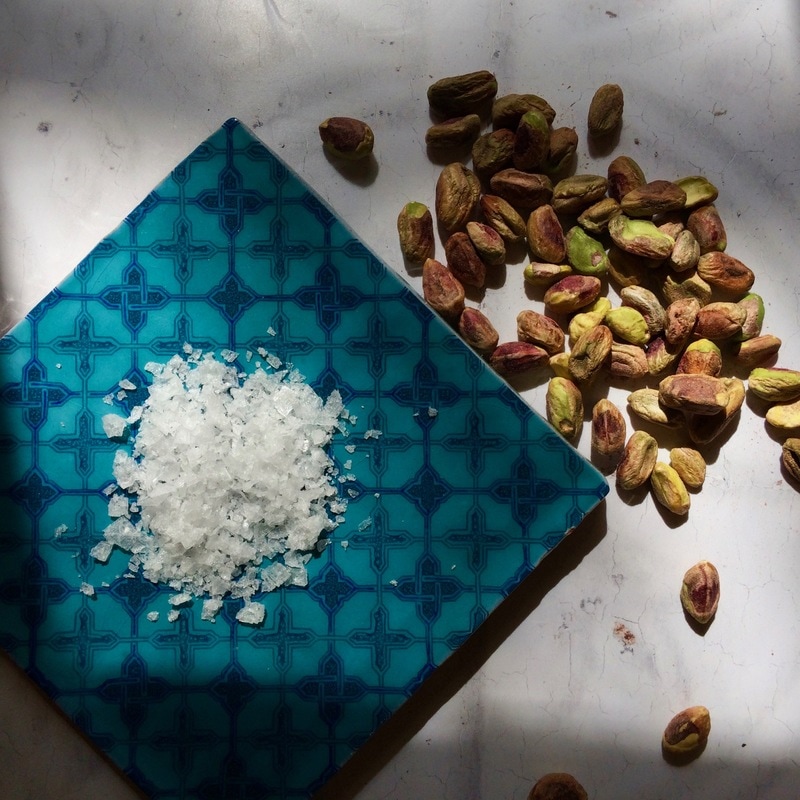
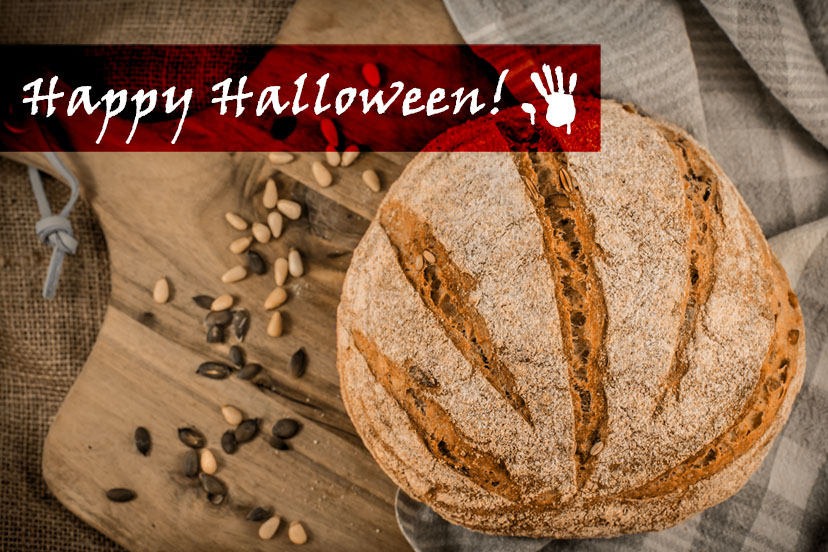
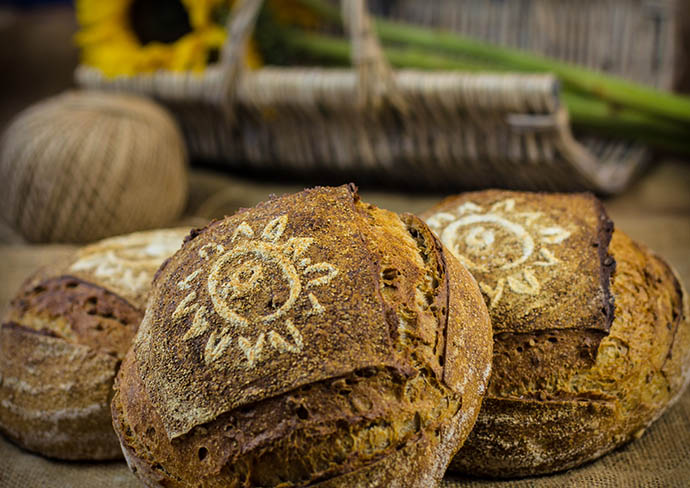
It's that time of year again! Ghosts are wailing, witches are wicked-ing, and we're baking up a storm. Read on for our Halloween inspired, (not-so) spooky recipe for pumpkin seed & pine nut bread...
|
Our workshops are run by award-winning sourdough baker Helen Underwood.
Categories
All
Archives
November 2023
|