
 Rhubarb is seasonal and abundant. Here we've coupled it with the last of the Spanish blood oranges, but any orange will do!
Ingredients: For the sweetcrust 75g icing sugar 125g butter 1 medium egg 250g plain flour For the filling 4-5 sticks of rhubarb 250g sugar 250g water 1 orange (or blood orange) For the frangipane 150g caster sugar 150g butter 3 medium eggs 150g ground almonds 30g plain flour Method: This recipe involves making 3 elements - the sweetcrust, the filling and the frangipane - separately, and assembling together at the end. For the sweetcrust:
For the filling:
For the frangipane:
Now you're ready to assemble!
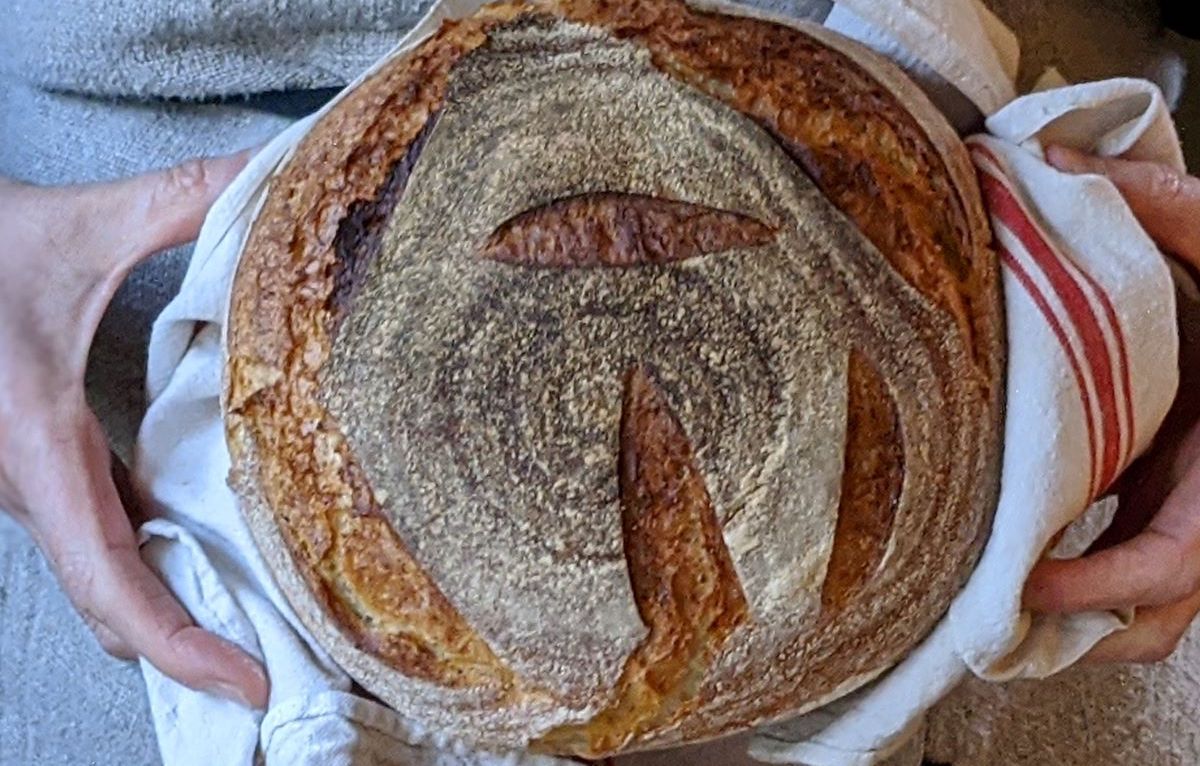 Porridge bread (Makes 1 large loaf, 2 small or about 8 rolls)
For the porridge*: 80g porridge oats 220g boiling water *alternatively, use 300g leftover porridge For the dough: 300g above porridge 330g strong bread flour 180g tepid water 10g fresh yeast (or 5g instant dried yeast) 8g fine sea salt Method: First, pour over the boiling water over your oats, mix and set to one side to cool. Alternatively, use any leftover porridge you may have. When cool, place with the tepid water in a bowl or mixer. Add the flour, salt and yeast, ensuring the yeast is kept separate from the salt, at least initially. Mix with your scraper until all ingredients are combined and a rough dough has formed. Turn out onto your work surface and knead for 15 minutes or so, until you have an elastic dough which doesn’t stick to the work surface or your fingers. Alternatively, knead in your mixer, using the dough hook attachment for approximately half the time. Form the dough into a ball and place back into your lightly floured bowl. Cover with a large plastic bag or a baking cloth and leave to rest for about an hour. Now it’s time to fold and stretch your dough: using your scraper, turn the dough carefully out onto a lightly floured surface – with the ‘top’ of the dough now underneath. Taking the 4 points of the compass in turn, pull the dough gently outwards then bring over to the middle point of your dough (as if you were making a paper windmill). When all 4 ‘corners’ have been brought into the middle, turn your dough back over and place back in the bowl, so that the ‘top’ of the dough remains uppermost. Rest, covered, for a further 15-20 minutes so the dough can relax again. Now, you are ready to shape your dough ready to place into a tin, a proving basket or into rolls. Carefully tip out the dough onto a lightly floured surface. Turn the dough back over so that the ‘top’ of the dough is now uppermost. Divide into portions for rolls or loaves, then shape into a smooth ball, or oval if baking in a tin If shaping your dough in an oval to fit a tin, remember to grease your tin before placing the shaped dough inside, with the seam concealed neatly underneath. Cover your loaf/loaves/rolls whilst they prove for a second time for about an hour until they appear nicely ‘bloated’ and are approximately double in size. Preheat your oven to 240°C. When the dough is ready (slowly springing back when you prod gently with a floury finger), place into your hot oven. Spray around the floor and walls of the oven to create steam then quickly close the oven. Turn down the oven to 220°C and bake until golden brown on top and bottom. Rolls will take 12-15 minutes, a small loaf will take about 25-35 minutes and a large loaf, 40-45 minutes. If you have a probe thermometer, the bread is cooked when the centre of the loaf reaches 95°C. 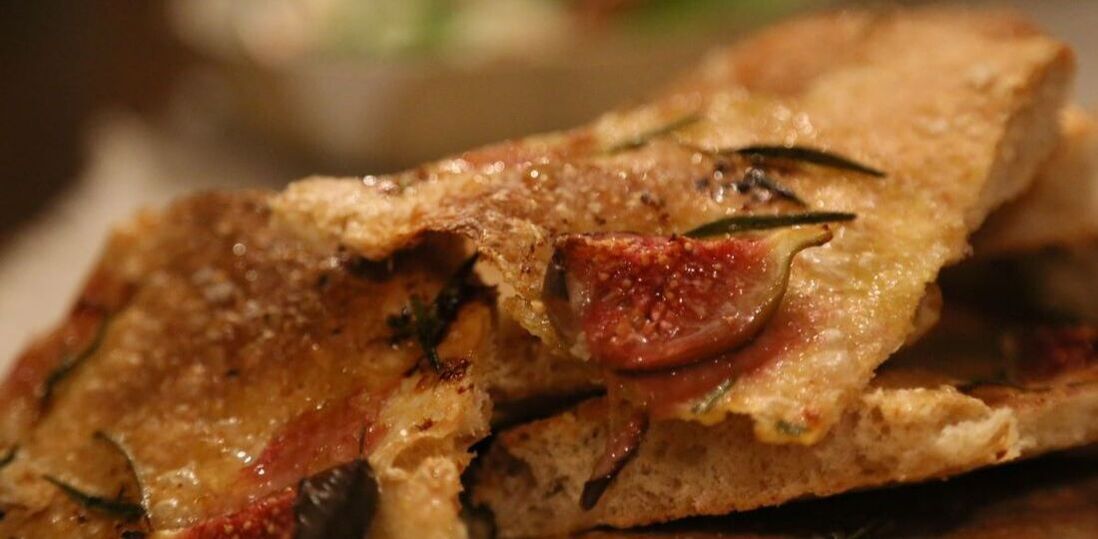 Schiaciatta – literally ‘squashed’ or ‘flattened’ – is a Tuscan version the popular Italian flatbread focaccia. Their shape and size can vary, much like pizzas, but they are generally thin, resembling giant crackers in some cases. To stretch so thin the dough must be very well rested, so this dough should be made well ahead of time and can be kept in the fridge for up to 5 days. I like mine to have a varied thickness rather than uniform, so I prefer to hand stretch, leaving some parts very thin and crispy and others with a bit more of a chew. Like focaccia, you can top with a variety of different toppings, but going with the classic olive oil, scattered herbs and flaky sea salt is never a disappointment. This recipe is also perfect for when figs are in season, but substitute for whatever you have to hand. Black grapes make a delicious alternative.
Schiacciata (makes 1 large tray, approx. 40cm x 30cm) Ingredients For the dough: 360g 00 flour (or half plain, half bread flour) 50g wholemeal flour 6g fresh yeast (or substitute 3g dried instant yeast) 260g tepid water 40g oil 7g salt Suggested toppings: A few tablespoons of olive oil A scattering of flaky sea salt A few sprigs of rosemary Method Mix and knead the dough for about 10-15 minutes until strong and elastic. Leave covered for 30 minutes in an oiled bowl. After it has rested, stretch and fold the dough and return to the bowl. Repeat after another 30 minutes then place, covered, in the fridge for up to 5 days. If you want to use the same day, simply make in the morning to use in the evening. Two or three hours before you wish to use the dough (less, if a very hot day) remove from the fridge. Preheat your oven to 240°C. Prepare a shallow tray, preferably the largest baking tray you have that fits your oven, by smothering in olive oil. Now place your dough, with the top side uppermost, onto your tray. Use the weight of the dough to gently stretch the dough to fit your tray. Encourage the dough to stretch from underneath, rather than ‘pushing’ the top of the dough, which risks tearing it. Concentrate on thinning particularly thick areas, but don’t get too hung up on uniformity. The wafer-thin parts will be delightfully crispy, the thicker parts more like pizza. If struggling to fit the area, cover and leave to rest in the tray for a few minutes. When you return, the dough will have relaxed and be more than ready to stretch further. When stretched, cover the dough and leave for a further 15-20 mins, unless it is a particularly warm day and it looks as if it is ready to go. Just before baking, scatter the rosemary, drizzle generously with olive oil and top with flaky sea salt. Place in the oven and reduce the temperature to 220°C. Bake for 20-25 mins until crisp and golden. When baked, remove from oven onto a rack. Enjoy while warm.  Potato Bread (Makes 1 large loaf, 2 small or about 8 rolls)
For the potato: 300g potatoes (peeled weight) 280g water For the dough: 300g above cooked potato, riced or mashed 350g strong bread flour 180g above potato water 6g fresh yeast (or 3g instant dried yeast) 8g fine sea salt Method First cut your peeled potatoes into rough chunks, about 2cm cubes. Place in a pan with about 280ml of water and bring to the boil. Boil for about 15 minutes until just tender but not falling apart. Drain and reserve the potato water. This starchy liquid will be used to make your dough beautifully soft. When cool, either mash your potatoes or place through a potato ricer. Now place your potato and starchy water in a bowl or mixer. Add the flour, salt and yeast, ensuring the yeast is kept separate from the salt, at least initially. Mix with your scraper until all ingredients are combined and a rough dough has formed. Turn out onto your work surface and knead for 15 minutes or so, until you have an elastic dough which doesn’t stick to the work surface or your fingers. Alternatively, knead in your mixer, using the dough hook attachment for approximately half the time. Form the dough into a ball and place back into your lightly floured bowl. Cover with a large plastic bag or a baking cloth and leave to rest for 30-40 mins. Now it’s time to fold and stretch your dough: using your scraper, turn the dough carefully out onto a lightly floured surface – with the ‘top’ of the dough now underneath. Taking the 4 points of the compass in turn, pull the dough gently outwards then bring over to the middle point of your dough (as if you were making a paper windmill). When all 4 ‘corners’ have been brought into the middle, turn your dough back over and place back in the bowl, so that the ‘top’ of the dough remains uppermost. Rest, covered, for a further 20-30 minutes so the dough can relax again. Now, you are ready to shape your dough ready to place into a tin, a proving basket or into rolls. Carefully tip out the dough onto a lightly floured surface. Turn the dough back over so that the ‘top’ of the dough is now uppermost. Divide into portions for rolls or loaves, then shape into a smooth ball, or oval if baking in a tin. Be gentle with this dough and don’t be too worried about tightening your chosen shapes, as this soft, tender dough is easy to tear. Feel your way and be guided by your dough. If shaping your dough in an oval to fit a tin, remember to grease your tin before placing the shaped dough inside, with the seam concealed neatly underneath. Cover your loaf/loaves/rolls whilst they prove for a second time for 45-60 minutes until they appear nicely ‘bloated’ and are approximately double in size. Preheat your oven to 240°C. When the dough is ready (slowly springing back when you prod gently with a floury finger), place into your hot oven. Spray around the floor and walls of the oven to create steam then quickly close the oven. Turn down the oven to 220°C and bake until golden brown on top and bottom. Rolls will take 12-15 minutes, a small loaf will take about 25-35 minutes and a large loaf, 40-45 minutes. If you have a probe thermometer, the bread is cooked when the centre of the loaf reaches 95°C.  Quick and easy pitta breads (makes 12)
For the dough: 600g Strong white bread flour* 15g fresh yeast (or 7g instant dried) 2 tbsp olive oil 300g tepid water 10g fine sea salt *or substitute plain flour, if you don’t have bread flour. Method Place the dry ingredients in your bowl, ensuring the salt is on one side, the yeast on the other. If you don’t have ready yeast, follow the instructions on the packet for activation. Now add the water and oil and, using a dough scraper or your hands, bring the mixture together into a rough dough. Take out of the bowl and need for about 10 minutes until you have a smooth and elastic dough. Place back in a lightly dusted bowl, cover and rest for 1 hour at room temperature. Preheat your oven to 240-250°C, with a good quality baking sheet or baking stone in place to get super-hot. After about an hour or so, remove the dough and divide into quarters. Take each quarter, squash it a little, then divide into 3 pieces and form each into a small ball with a tight seam underneath. Each piece should finish up as a smooth ball, with no edges or rough bits showing. Cover once more and leave to rest for a further 15 minutes. Take the first 4 balls and roll out into ovals about 20cm long and even thickness. Place them on a lightly dusted peel, or onto a silicone sheet that can be slid straight into the oven. Slide into your oven and bake for about 5 minutes. They should puff up in the oven. Remove after 5 minutes and cover with a linen cloth whilst you cook the remaining two batches. Keep covered whilst they cool, so the pittas remain soft and pliable. If you don’t, they will dry and crisp up. When cool, they can be kept in an airtight container for several days or frozen immediately. |

Our workshops are run by award-winning sourdough baker Helen Underwood.
Categories
All
Archives
November 2023
|